
 I decided to start my granny square adventure with the most basic. I’ve been making a shit ton of these squares for another giant project–I’ll make sure to post about that soon!
I used this super awesome tutorial (video and pictures included!) from a dude with some serious crochet skills. The video is a little easier to follow along with if you’ve never made a granny square before but beware, it goes very slowly for the more experienced crocheter.
Crocheter.. is that a word? Crochetess? Crochetpeople? Crochetian? Hm, another day, another post.
Anyway! This pattern is ridiculously easy to memorize so you don’t have to constantly follow a pattern and very customizable. Use any color combination you want and continue to make as many rounds as you want to achieve your desired size!
Materials:
- Any medium worsted weight yarn (I used Red Heart Super Saver Light Blue and Red Heart Super Saver Blue)
- I hook (5.5mm)
- Tapestry needle
Stitches Used:
- Chain (ch)
- Slip stitch (sl st)
- Double crochet (dc)
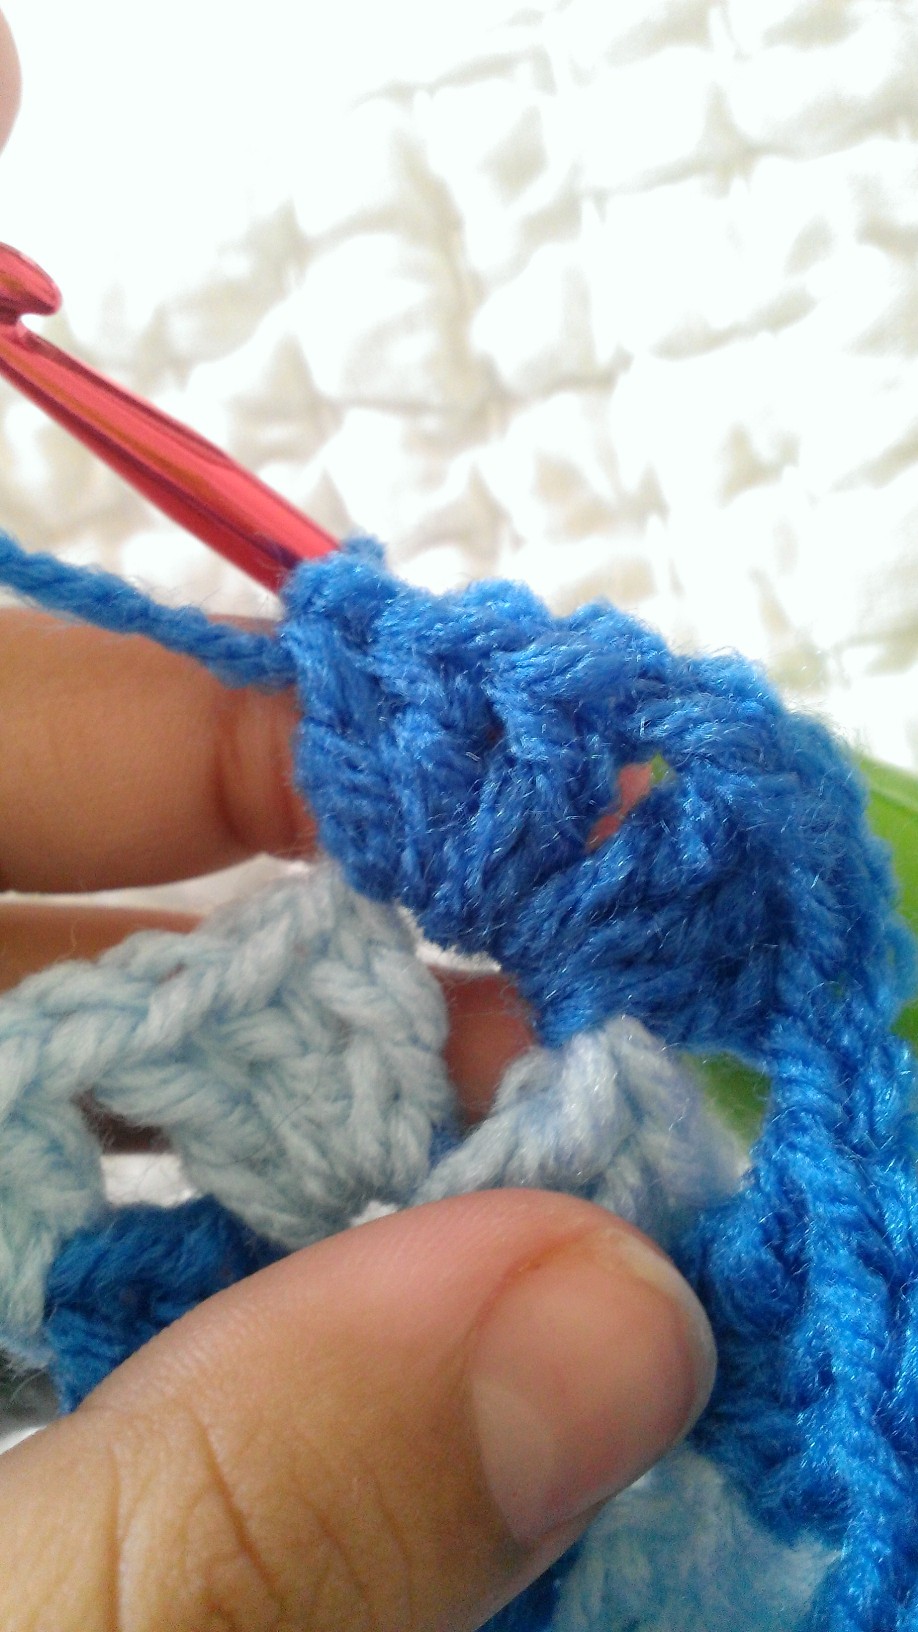
Ch 4, sl st in first chain (farther from hook) to form a ring (this is where you’ll work the first round of stitches)
Round 1: 2 dc into the hole you just made, ch 2, *3 dc, ch 2* repeat 3 times, sl st in second chain to join (if you are alternating colors, fasten off with join next color with sl st)
Now you should have a small square shape with an opening from the ch 2 in each of the four corners. 
Round 2: ch 3 (counts as first dc), 2 dc in corner space at the base of the ch 3, ch 1, *3 dc in next corner space, ch 2, 3 dc in same corner space* repeat around, sl st in second chain to join
If you are working in a corner space: 3 dc, ch 2, 3 dc, ch 1


If you are NOT working in a corner space: 3 dc, ch 1
Continue this same pattern for as many rounds as you’d like! My granny square has a total of 4 rounds. When you’ve reached your desired size, fasten off with a slip stitch and weave in ends.
Have a question about this pattern? Get at me: thinairandyarn@gmail.com